Recently it was a friend of mines birthday, and I wanted to make her something special. She loves to have pictures taking of her and her nephew, and has another nephew or neice on the way. So I immediately thought of a picture frame as a gift. But, being the craftinista chica that I am, I couldnt simply just wrap up a boring old picture frame now could I? TIME TO GET CRAFTY! This is a ridiculously simply project that you can do in an hour or so. Its almost too easy to post as a
tutorial but to be honest I just want to get back into the swing of posting these for you, so we are starting small. Baby steps kittens. I hope this inspires you to take something rather plain and make it your own.
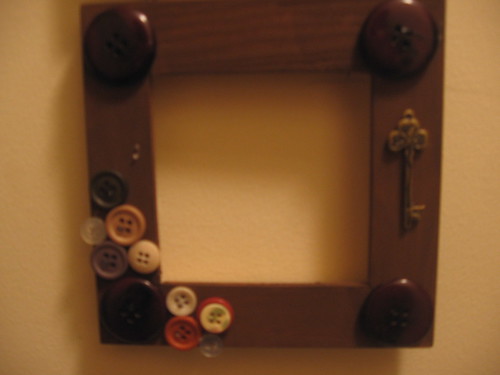
(Note: the picture above is of the back of my already painted frame. I realized after I had painted the front that this easy peasy lil project I was working on might make a fun and quick tutorial. So I snapped this before I painted the back side.)
First things first, gather your supplies. For this you will need your purchased picture frame, a paintbrush, brown paint, a glue gun, and some buttons. Dollar stores are great places to look for picture frames, as is Ikea.
Now we are going to paint our frame. I used Craft Smart acrylic pain in Espresso Brown. I watered it down a fair amount and did a few thinner coats. This way the wood grain was still visable beneathe the paint.
Let the paint dry THOROUGHLY! If not your buttons will not stick, so be patient and let each coat dry. While mine was drying I warmed up my glue gun and picked out the buttons I wanted to use for each section of this frame. Now you could just cover the whole surface area in buttons, but for me that was just too crazy and busy. I imagined what it would look like with pictures in the frames, and felt that too busy of a frame would just distract from the image it held.
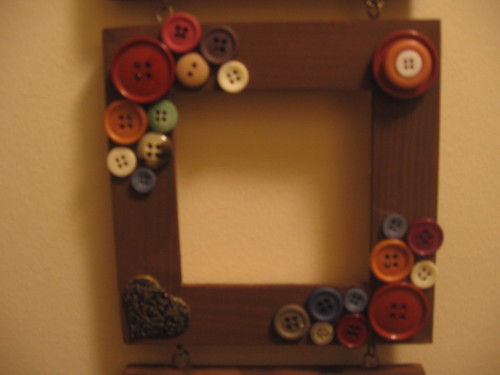
So here is the top frame, I decided that the top and bottom frames would be less detailed then the middle one. So I left some negative space to give the eye a place to rest. I also raided my craft supplies and added some jewlery items with the buttons as you can see above
Here is my middle frame, where I got way more detailed. Also look for buttons that you can stack and layer with to give texture to your piece. See the top right hand corner.
And for the bottom frame, i went back to a simpler version once again. Also, dont be affraid to let your buttons go over the edge of your frame, as you can see above. This adds to the three dimensional theme of the frame.
There you have it! A personalized frame, full of crafty loving goodness. So much better to wrap up and give to someone you care about then a plain wood frame right? I guess you could call this a "shabby chique" type of look, I just love buttons!!!! If you make one please post a link to it so that I can check it out.
peace, love and pickles!
Follow my blog with bloglovin


Oh wow, these are so cute! Love the buttons :) We're hosting a create something link up in our blog, you should add this fab project! :)
ReplyDeletexxx mervi
just linked up! Thanks!
ReplyDeleteLove this idea!!
ReplyDeleteA Candid Life
Ill have to try it for some upcoming projects!
These are beautiful, must give them a try. Thanks.
ReplyDeleteDont forget to add your link if you try this yourself! Id love to see
ReplyDelete